O FIRMIE
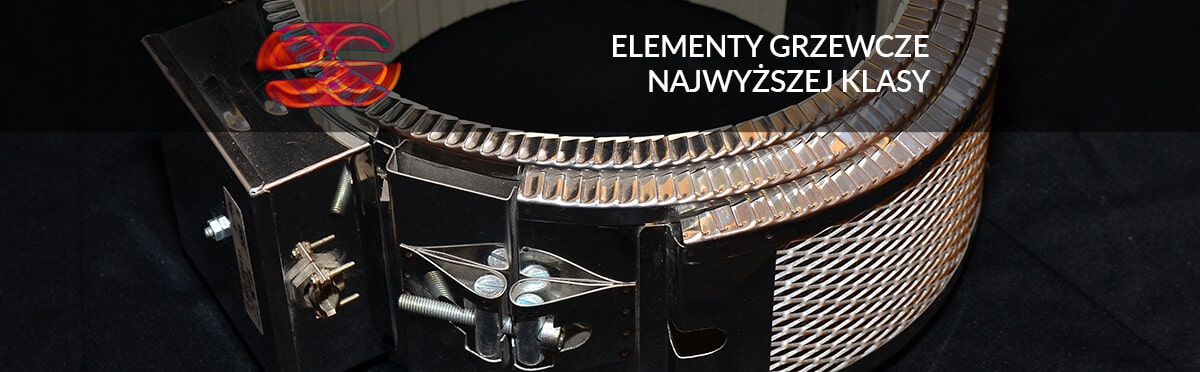
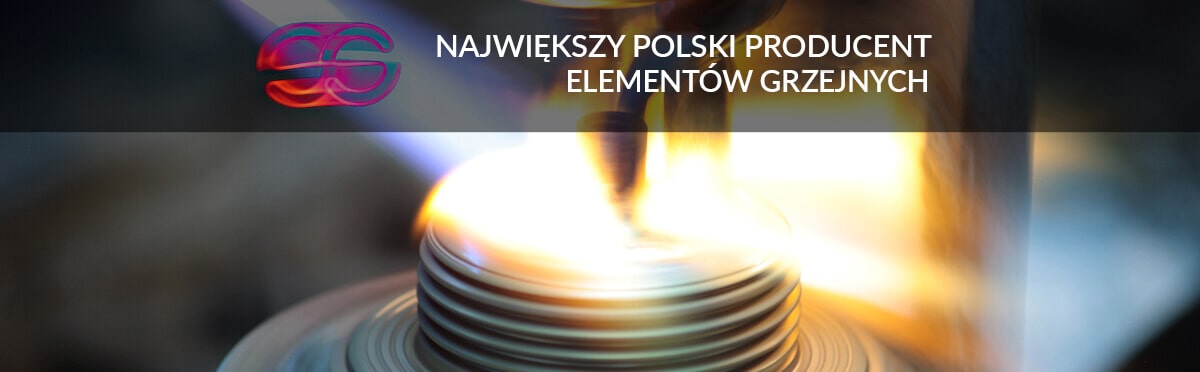
Selfa Grzejnictwo Elektryczne S.A to największy polski producent elementów grzejnych. Ustabilizowana pozycja ( tradycja Selfy sięga 1932 roku), wieloletnie doświadczenie oraz sukcesywnie rosnąca sprzedaż pozwoliły nam na miano lidera dostawcy najwyższej jakości elementów grzejnych w Polsce.
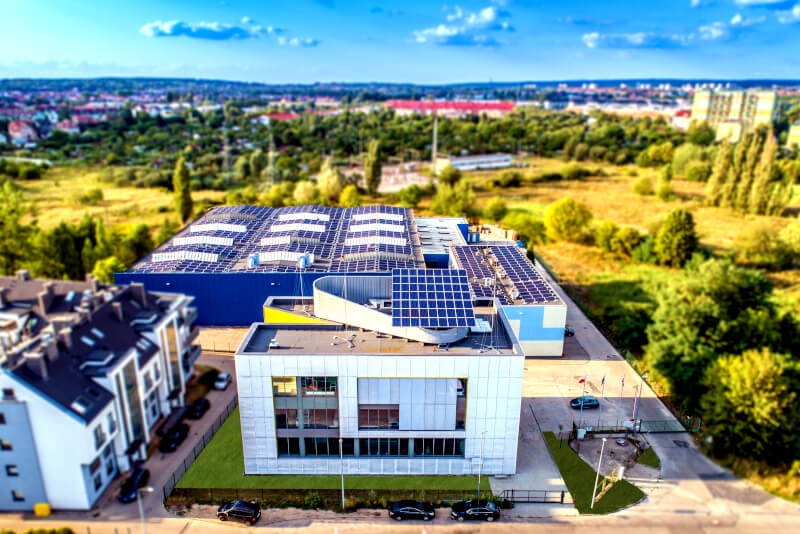
W ramach realizacji przyjętej strategii „Firmy Przyjaznej Środowisku” od połowy 2018 roku nasze elementy grzejne produkowane są przy użyciu zielonej energii pochodzącej ze słońca. W czerwcu 2018 roku została uruchomiona druga elektrownia fotowoltaiczna umieszczona na dachach hali produkcyjnej i budynku biurowego o mocy 214,5 kW.